The setting
Apple documents this in its page on HEIF and HEVC media:
- Open Settings.
- Tap Camera.
- Tap Formats.
- Tap Most Compatible.
Apple says all new photos and videos will then use JPEG or H.264. To go back, follow the same path and choose High Efficiency. The option exists only on devices that can capture HEIF or HEVC, which Apple lists as iPhone 7 or iPhone 7 Plus and later, plus certain iPads. If you do not see Formats, your device may not capture HEIC at all.
What this setting changes
- New photos become JPG. Apple’s instructions cover new captures only. They do not describe any conversion of the photos already in your library, so plan on handling those separately (see below).
- New videos change too. The same option moves video to H.264. There is no separate choice on this screen in Apple’s instructions.
- Your photos take more space. Apple says HEIF and HEVC compress better than JPEG and H.264 and so use less storage on your devices and in iCloud Photos. Apple gives no figures, and the difference depends on the photo, so we will not quote one.
Apple’s page does not explain how this setting interacts with high-resolution modes such as HEIF Max or ProRAW. If a camera option looks different after you switch, check it on your own iPhone rather than assuming.
Should you switch?
Stay on High Efficiency if your photos mostly live on Apple devices and you only occasionally need a JPG. Converting those few files uses less storage overall.
Switch to Most Compatible if your photos regularly go to forms, older software or people who cannot open HEIC. It removes a step every time, at the cost of larger files. For a closer comparison of the two formats, read HEIC vs JPG.
If you only need JPG now and then
You may not need the setting at all, because iPhones sometimes convert on the way out. Apple says that media sent by AirDrop, Messages or email to a device that does not support the newer formats might be shared in a more compatible format such as JPEG. It also says media imported over a cable into Photos, Image Capture or a PC might be converted to JPEG or H.264. Both are conditional, so do not count on them for an upload with strict rules.
Keep Originals works against this. Apple says that choosing Settings, Apps, Photos, Keep Originals prevents the conversion during import. If you want converted files from a cable transfer, make sure it is not selected.
Photos you already took
For HEIC files already on your phone or computer:
- Use the HEIC to JPG converter for one or a few photos. It works in a mobile browser as well, though phones with little memory can fail on very large images.
- Use the batch converter for many files, ideally on a computer.
- On a Mac, Photos and Preview can export to JPEG or PNG through File, Export. See converting HEIC on a Mac.
- On a Windows PC that will not open them, see opening HEIC on Windows.
Converting a HEIC to JPG is a new lossy step. Keep the originals until you are happy with the results.
How to confirm it worked
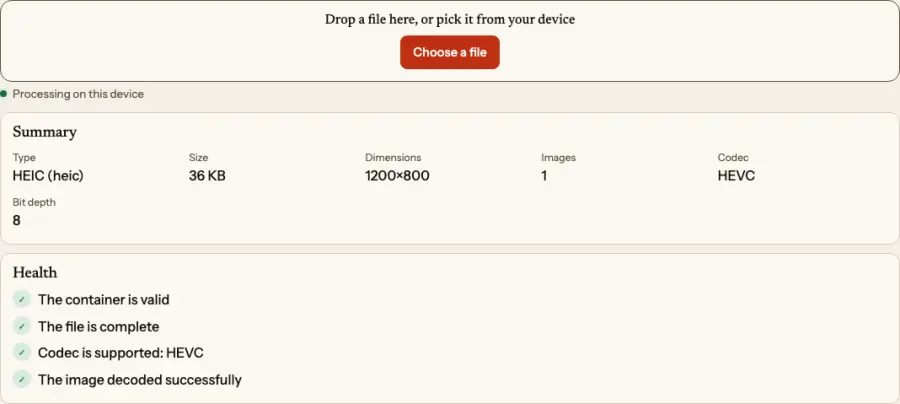
Take a test photo after changing the setting and move it to the place where you need it. Then run it through the file checker, which reads the real type from the file’s contents instead of trusting its name. Do not rename a HEIC to .jpg to make it fit: the contents stay HEIC and many programs will reject it.
Location data stays
Changing format does not make a photo private. If the Camera has access to your location, a JPG can carry GPS coordinates just as a HEIC can. Before posting photos publicly, read metadata and GPS and, if needed, strip the data with the image metadata remover. For sharing behaviour in general, see HEIC on iPhone and Android.