The decision in one paragraph
Keep HEIC while the photo stays inside Apple’s ecosystem or any software you know can read it. Make a JPG when the destination needs one: a web form, an older program, a print service, a colleague on an older PC. JPG is the format nearly everything accepts, and HEIC is the more efficient one. The rest of this guide explains what that trade costs you.
Compression and size
Both are lossy formats for photographs. Apple states that HEIF and HEVC offer better compression than JPEG and H.264 and use less storage while preserving visual quality. MDN describes JPEG as the most widely used lossy format for still images and a good choice for photographs.
No fixed ratio applies. A flat sky and a busy street compress differently, and a JPG saved at quality 95 is much larger than one saved at 70. If you want to see the effect on your own photos, the compare tool shows a HEIC and a JPG side by side, and the converter’s size comparison shows what you got.
Compatibility
JPG opens almost anywhere. HEIC support depends on the operating system, the app and the browser, and is often missing or optional on Windows and in web uploads. For platform details see opening HEIC on Windows and HEIC on iPhone and Android. For browser support, check the current Can I use HEIF table rather than trusting a number in an article, since it changes.
What HEIC can hold that JPG cannot
- Several images in one file. The HEIF design allows multiple images, thumbnails and auxiliary data such as a transparency plane in a single container. Plain JPEG has no alpha channel, as MDN notes.
- Higher bit depth. HEIF can carry more than 8 bits per sample. JPEG in everyday use is 8-bit.
- Non-destructive rotation. In HEIF, rotation can be stored as a property of the image rather than baked into the pixels.
Whether a given iPhone photo uses any of these depends on the file. The HEIC inspector lists what is actually inside one.
What you lose when you convert
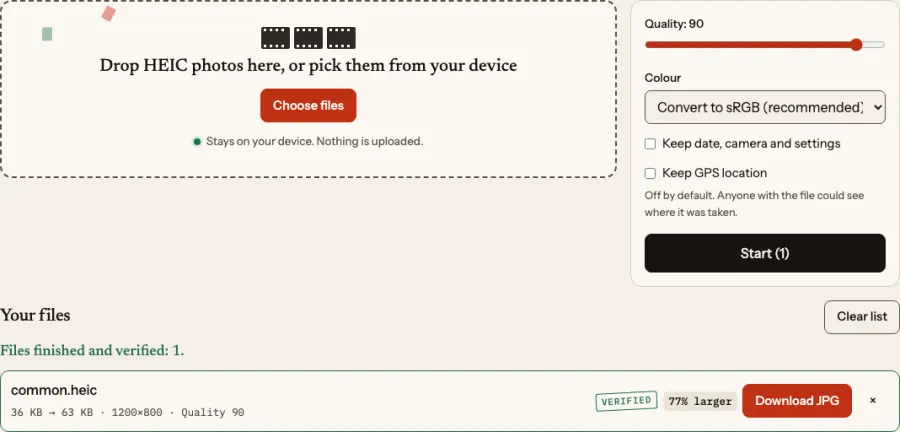
Converting HEIC to JPG with FromHEIC has these consequences, and the page states each of them:
- A second lossy generation. The HEIC was already compressed; the JPG is compressed again from the decoded pixels. At high quality the difference is hard to see, but it is not zero. The default quality is 90, and you can raise it.
- 8-bit output. Any extra bit depth is reduced to 8 bits.
- Transparency is flattened. JPG has no alpha, so transparent areas are filled with white.
- Colour is converted to sRGB by default. Many iPhone photos use Display P3, a wider gamut than sRGB (the ICC registry entry documents the primaries). The converter transforms pixels using the file’s embedded profile so colours look right in ordinary software. An option keeps the original profile embedded instead. The detail is in HDR and Display P3.
- Location is not copied by default. Date, camera and settings can be kept with one checkbox; GPS needs its own separate one.
Going the other way
Turning a JPG into a HEIC does not bring back anything the JPG lost. It decodes the JPG and encodes it again, which is another lossy step. FromHEIC’s JPG to HEIC page does this using your browser’s own HEVC encoder, and works only where the browser exposes one. If a JPG is too large for an upload limit, reduce its size instead of changing format.
A sensible workflow
- Leave photos as HEIC on your phone and in your library.
- Convert only the copies that need to go somewhere HEIC is not accepted.
- Use a quality around the default for sharing, and higher for anything you will edit again.
- For many files at once, use the batch converter and keep the originals.
If you need a specific file size rather than a specific quality, HEIC to target size searches for a quality that fits.